
Halfbike 3 - Front Tire Replacement
Disconnect the brake and gear cables as shown here. Then unscrew and remove all four QRs.
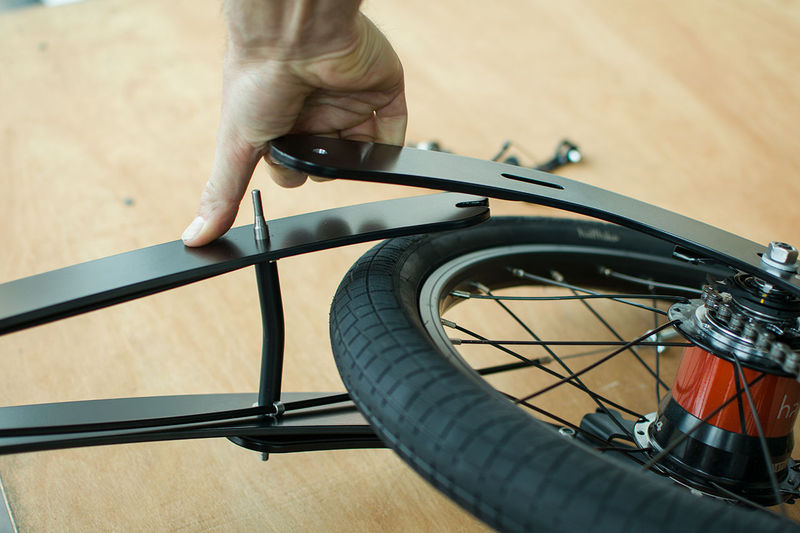
 Gently open the frame wide and detach it from the handle, one side at a time.
 Remove the handle.
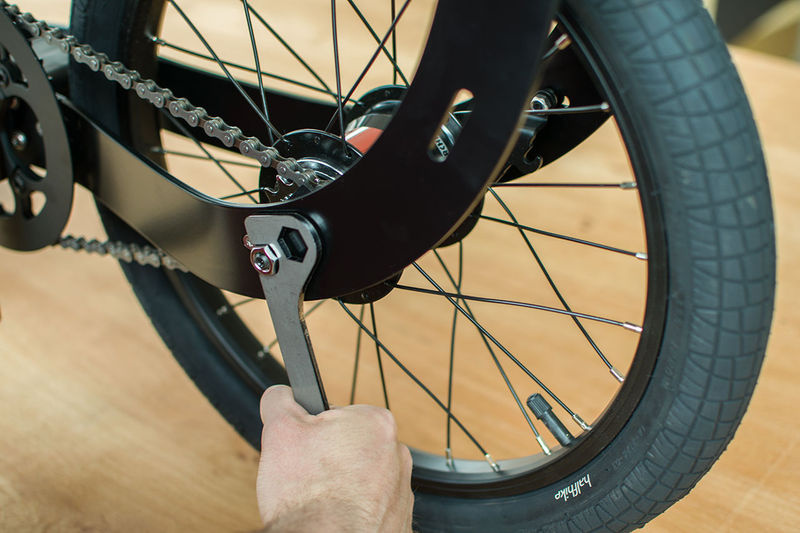
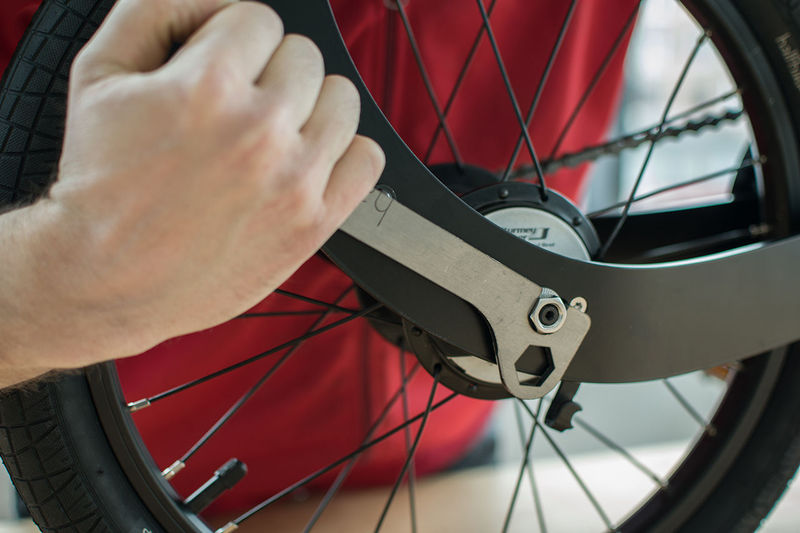
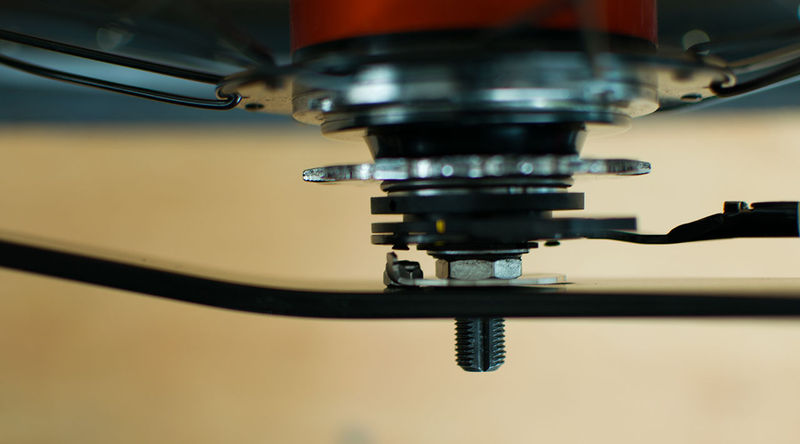
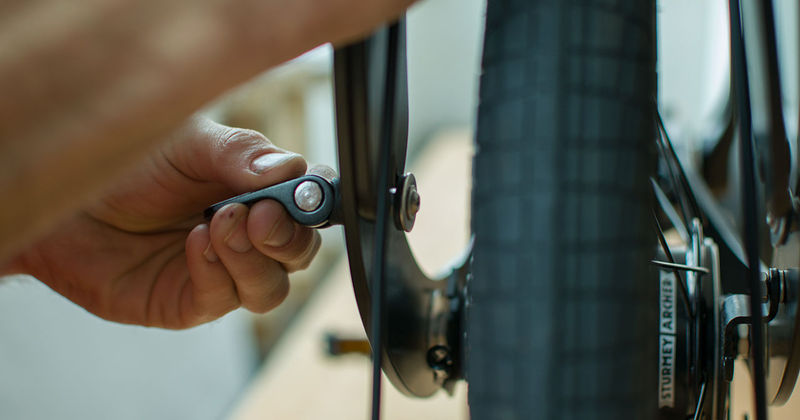
 Use a 15mm wrench to unscrew the nuts.
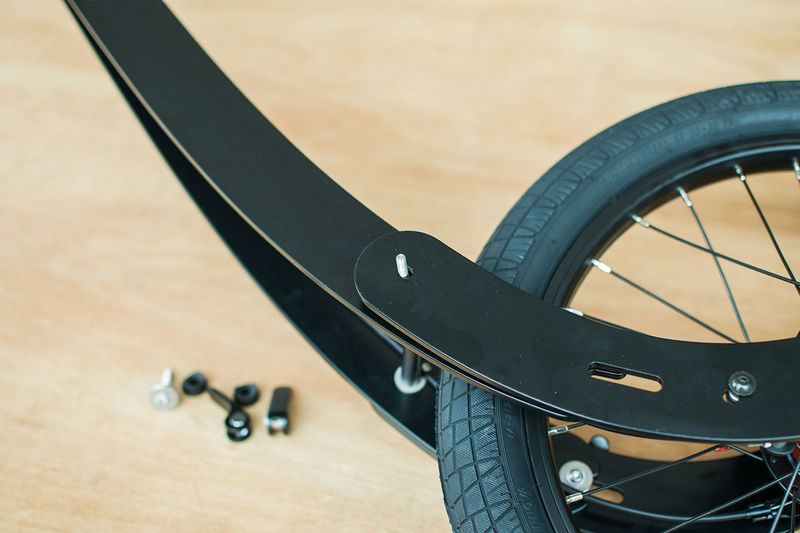
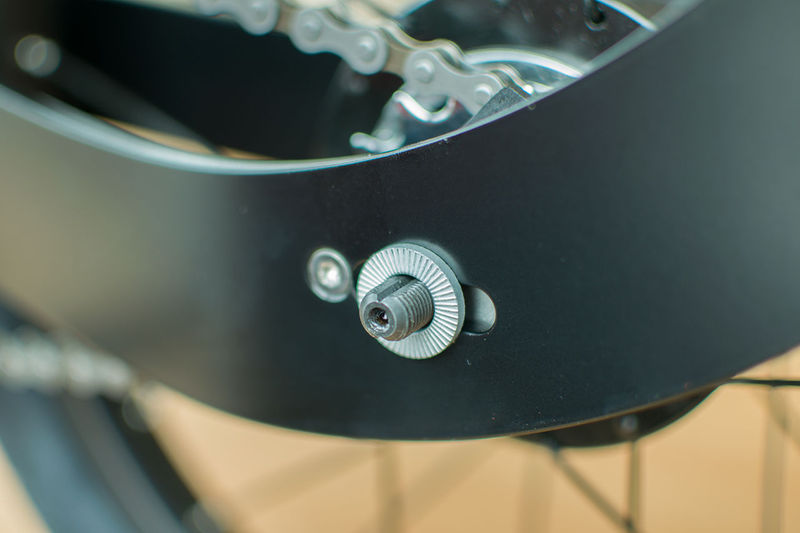
 Remove the nuts and washers.
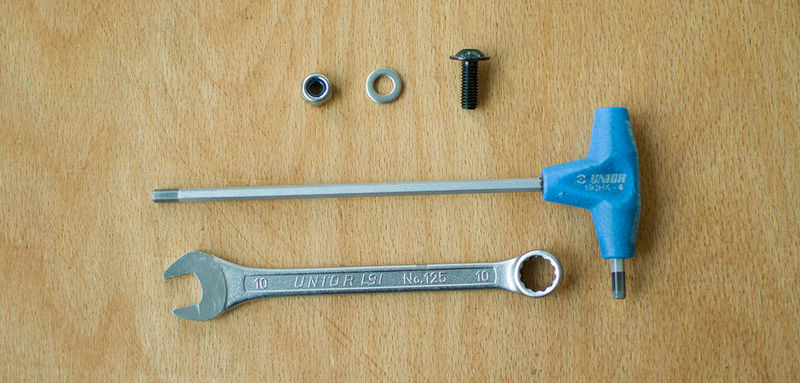
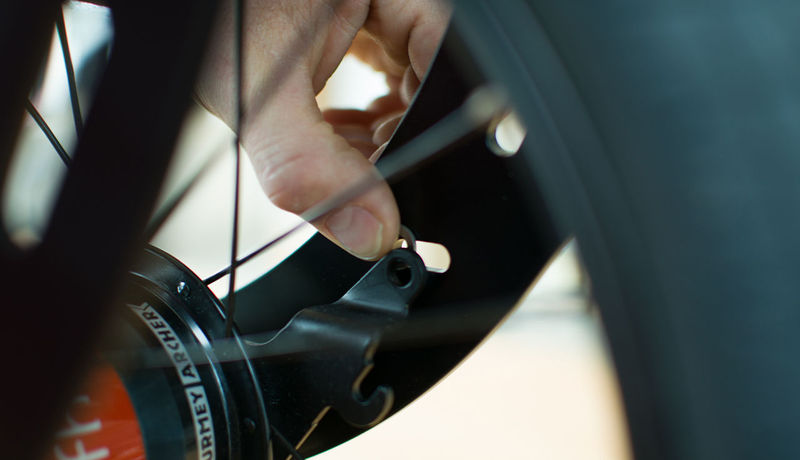
 Use a 4mm hex key and a 10mm wrench to unscrew the brake bolt.
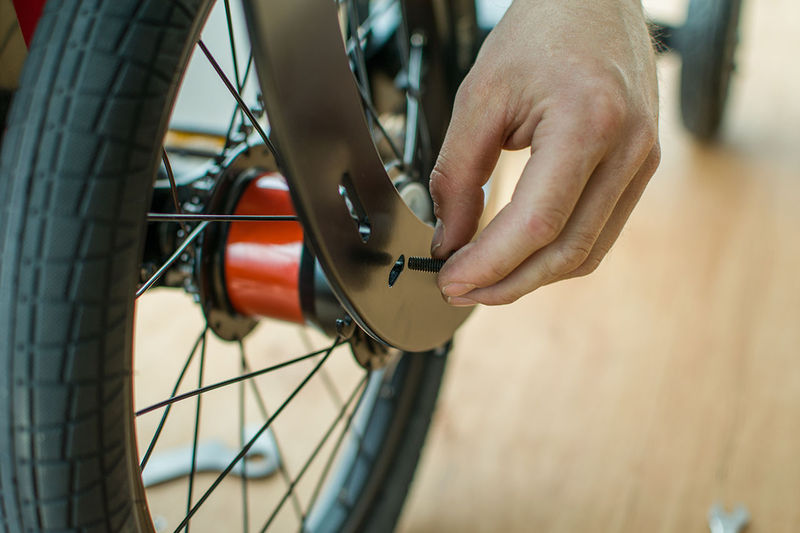
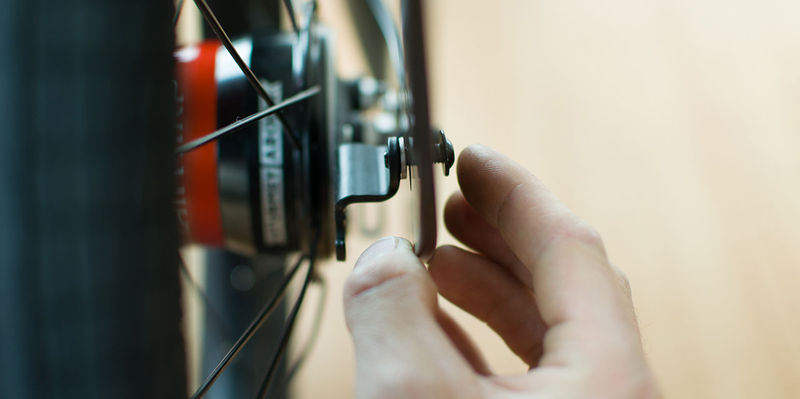
 Remove the bolt and the washer.
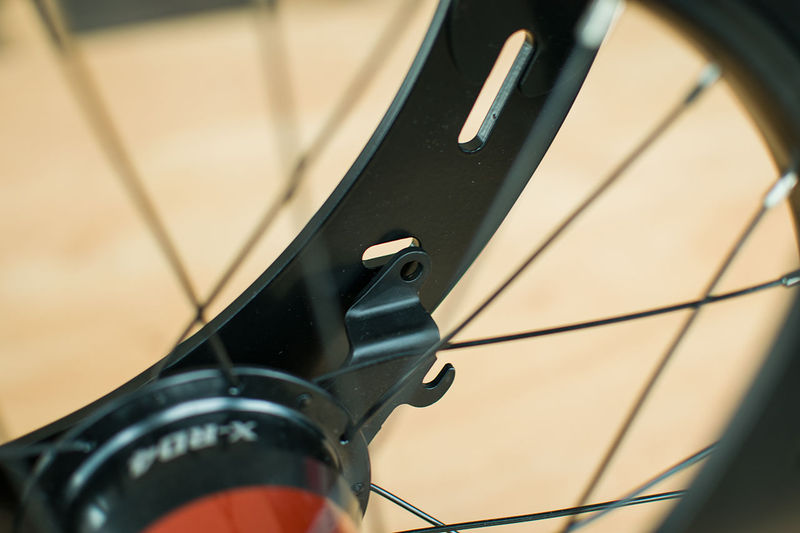
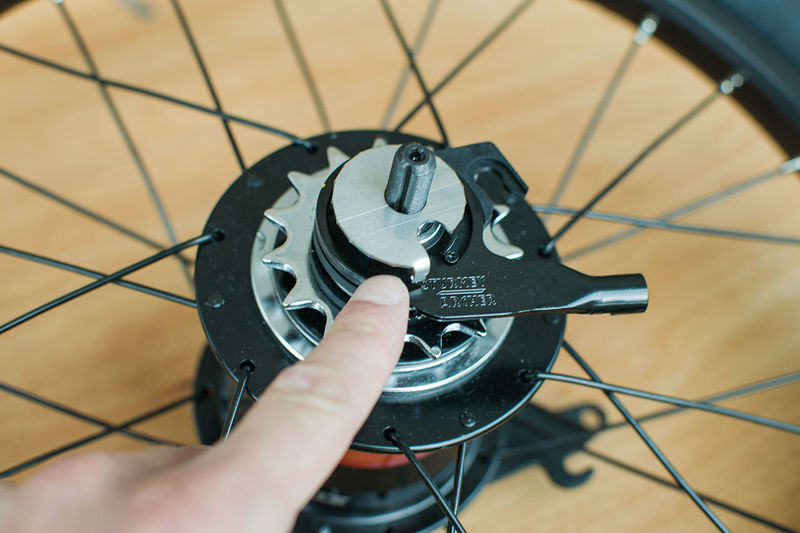
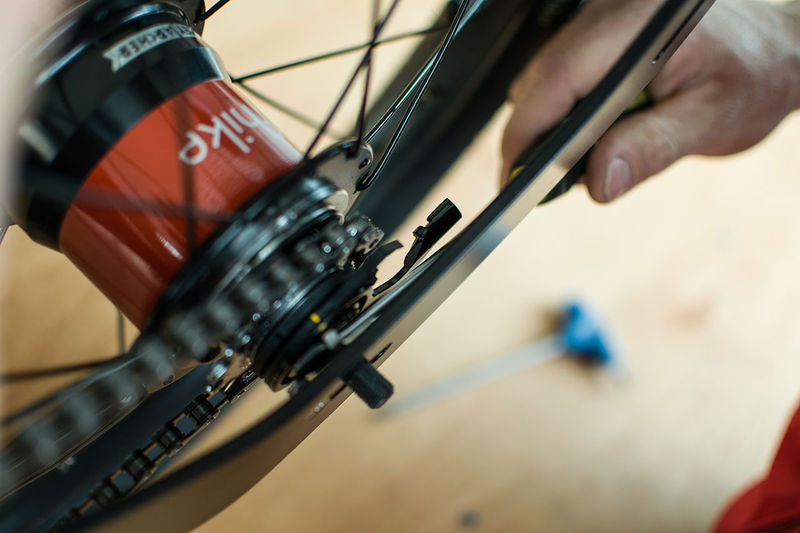
 Rotate the elliptical washers, which are to be found on the inner side of the frame, as shown in the diagram below:
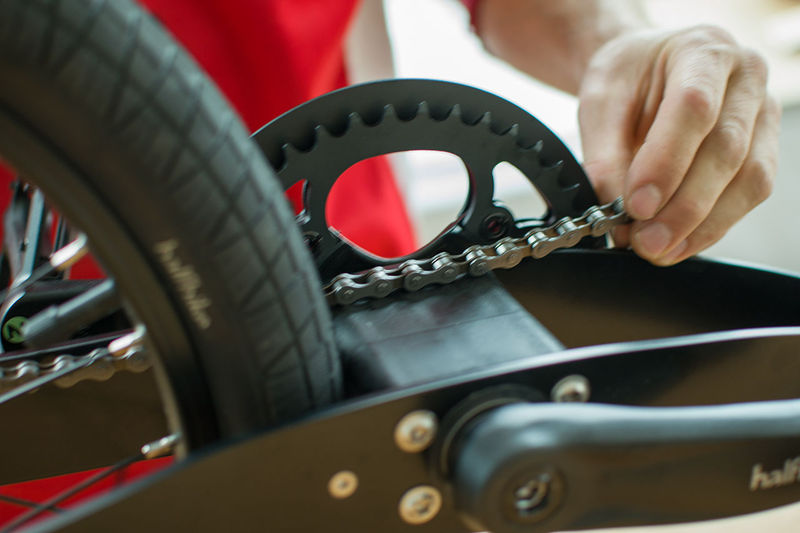
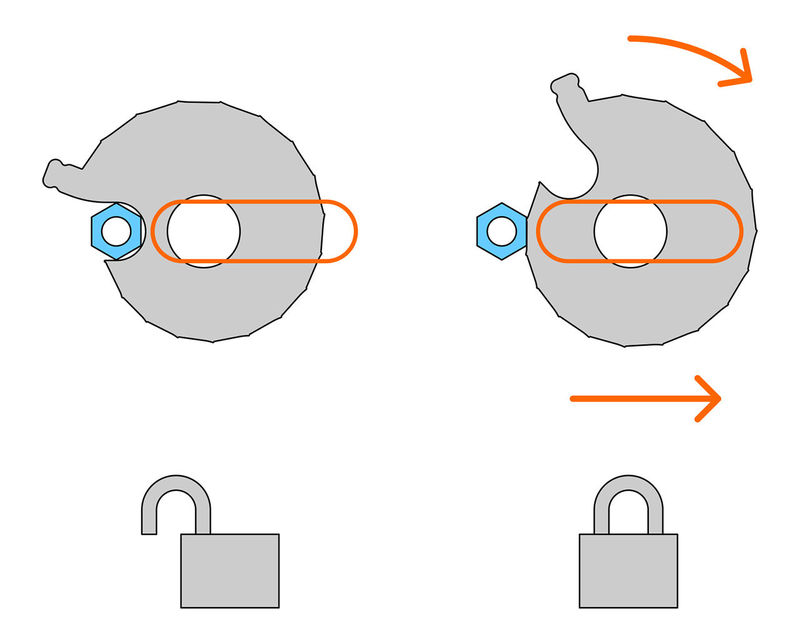 Push the tire back once the washers are unlocked.
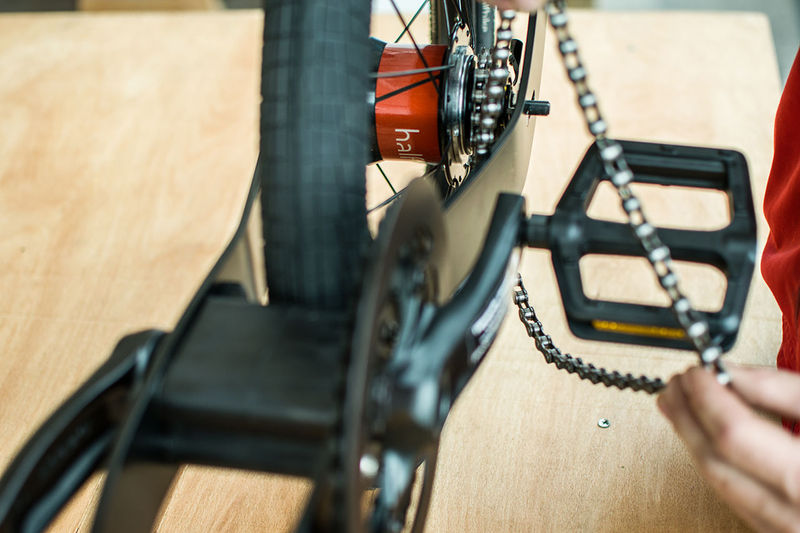
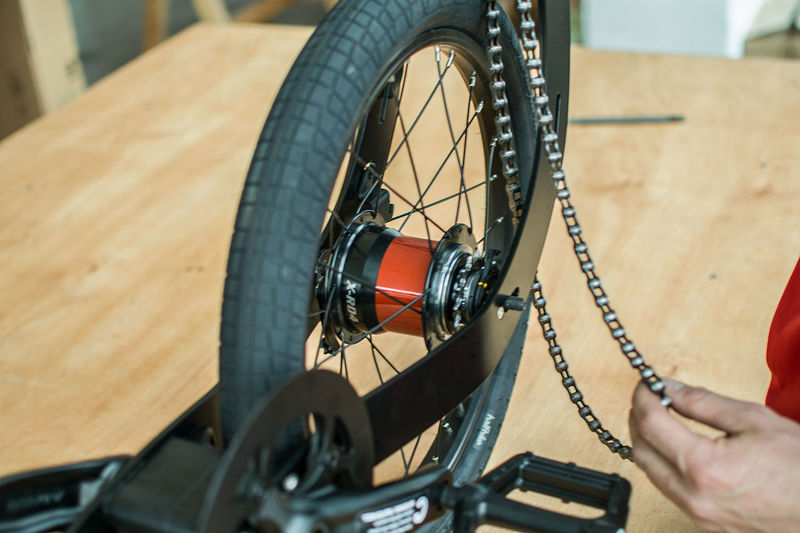
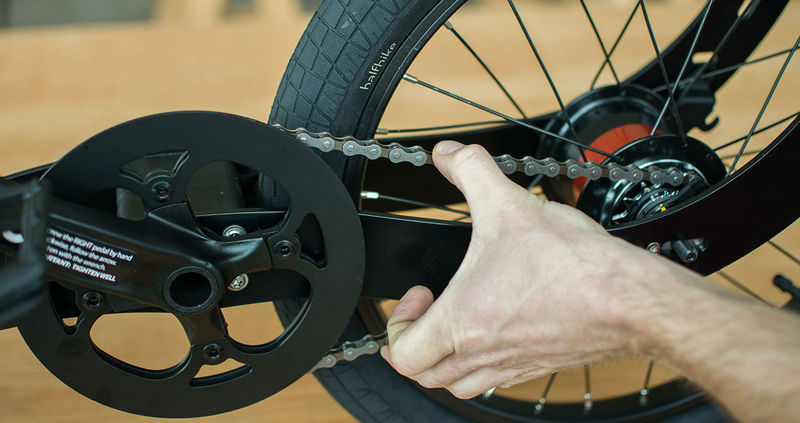
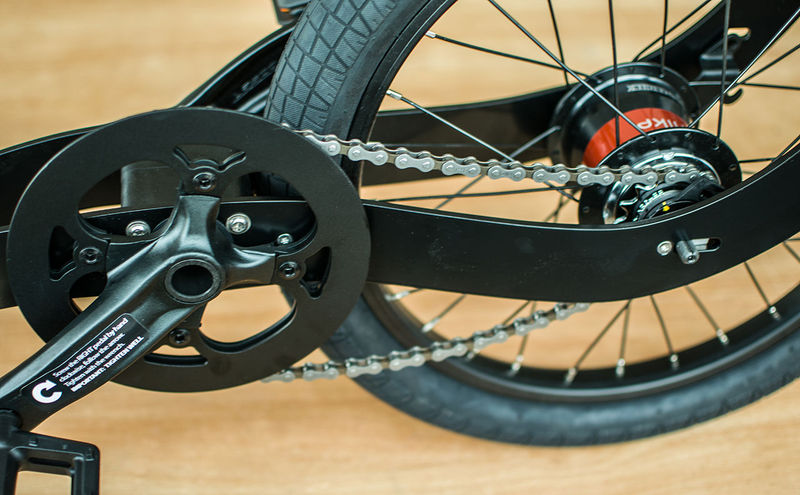 This will loosen the chain and you will be able to remove it.

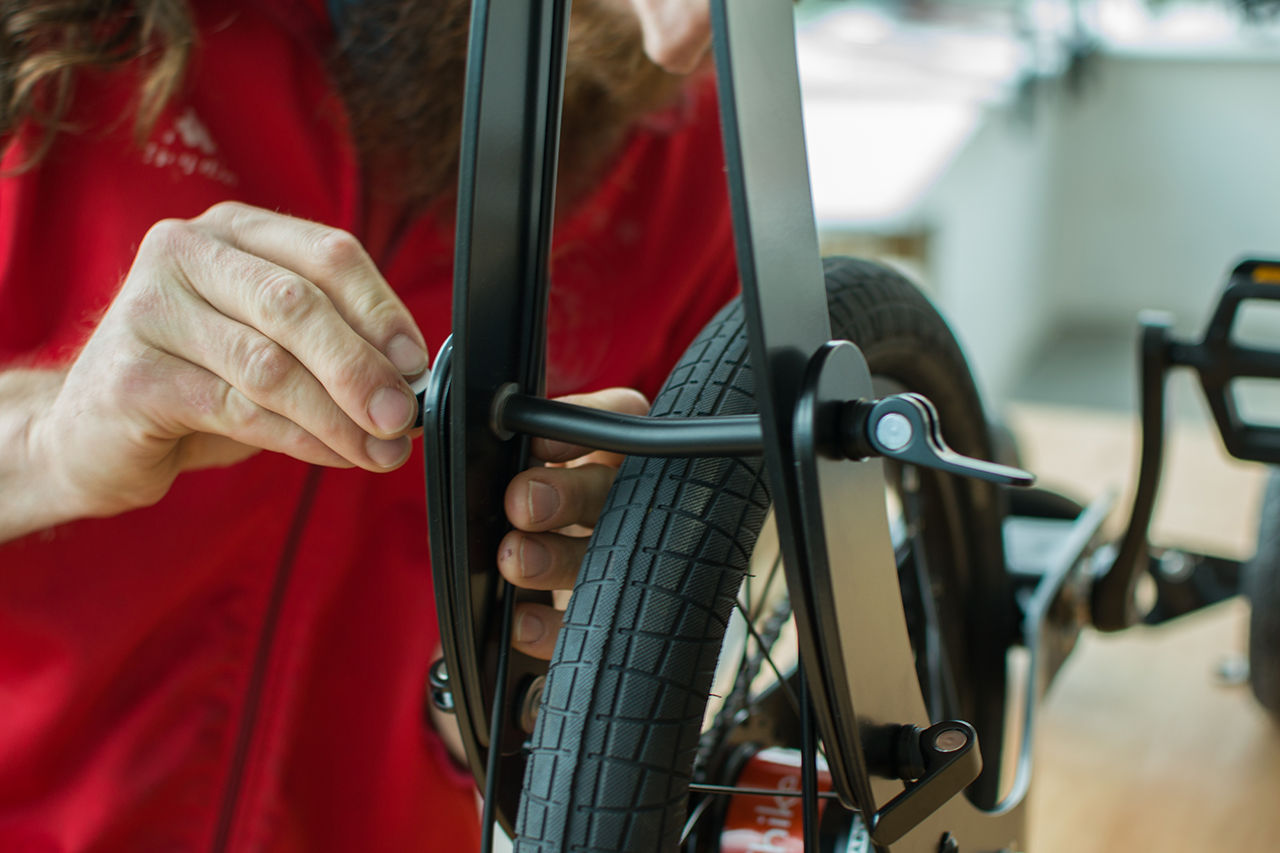
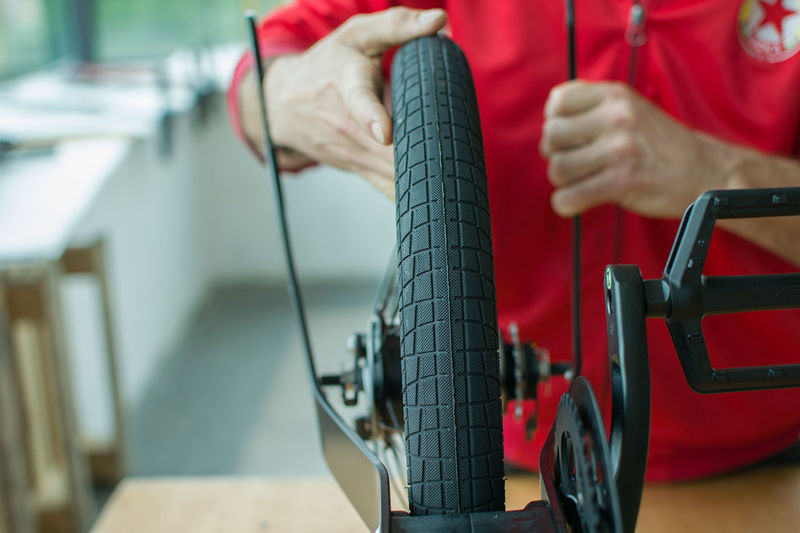
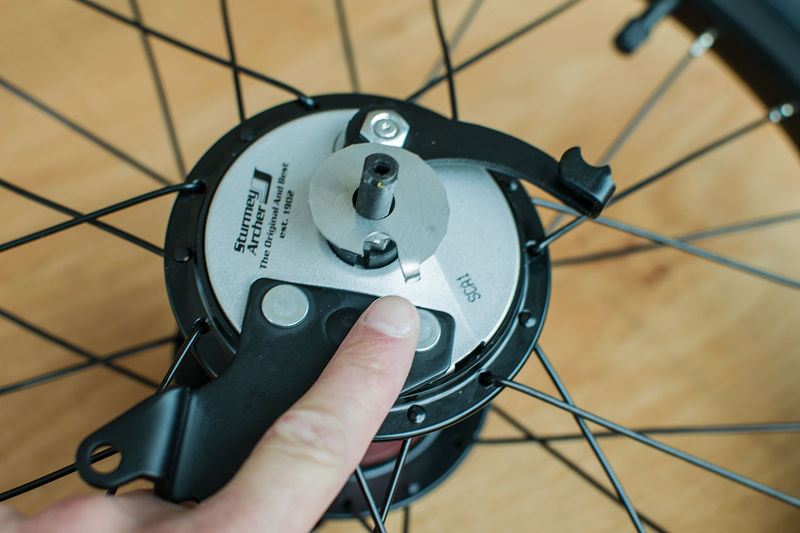
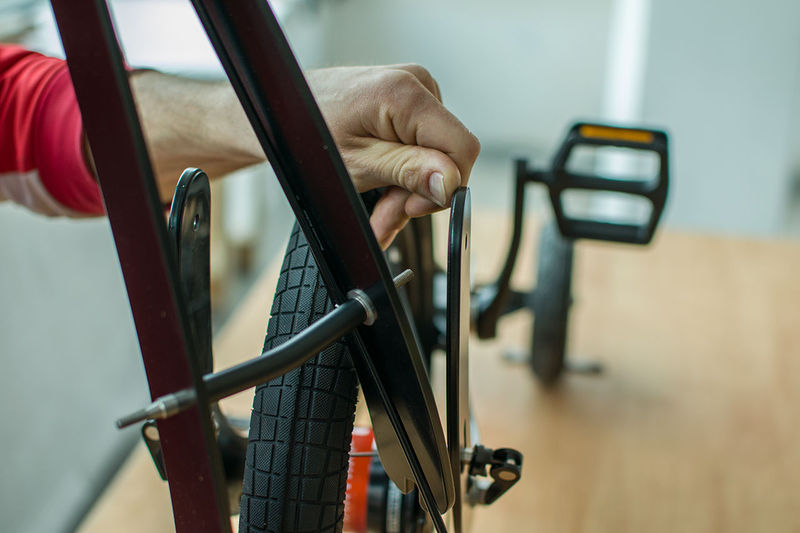
 To detach the front wheel, place your hands as shown in the pictures.
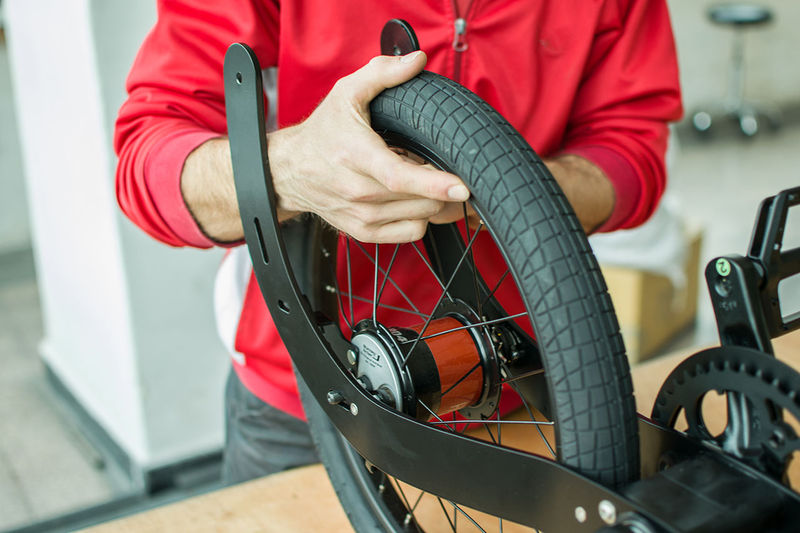
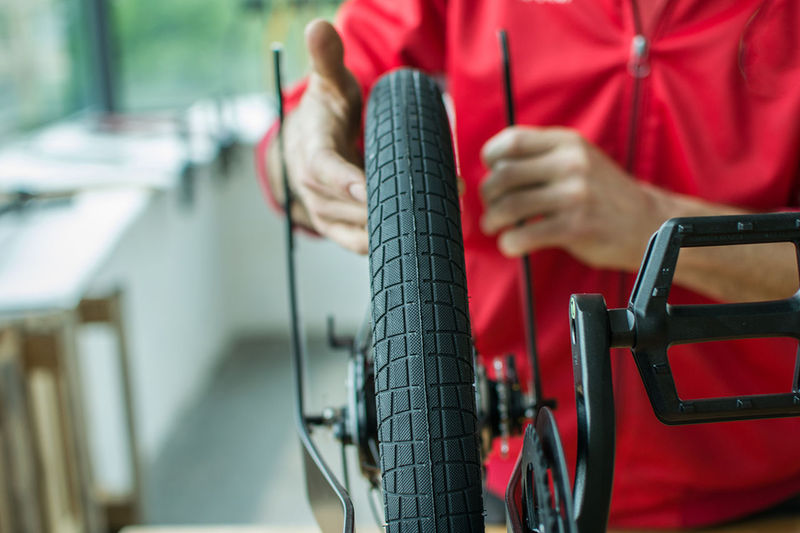 Gently open the frame just enough to allow the axis of the wheel to come out.
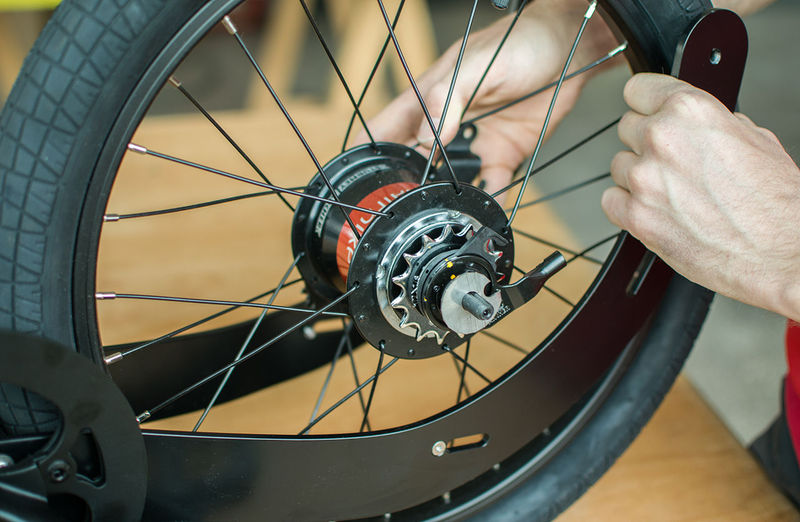
 If you're about to change the whole wheel, remove the elliptical washers and memorize their L&R positions.
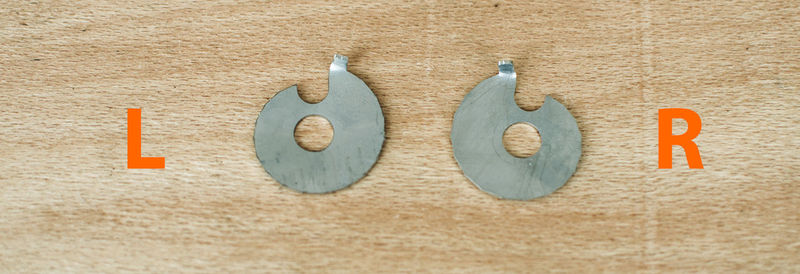
 Put the elliptical washers back, but be careful about their L&R positions. The thumbs should always be pointing inwards.
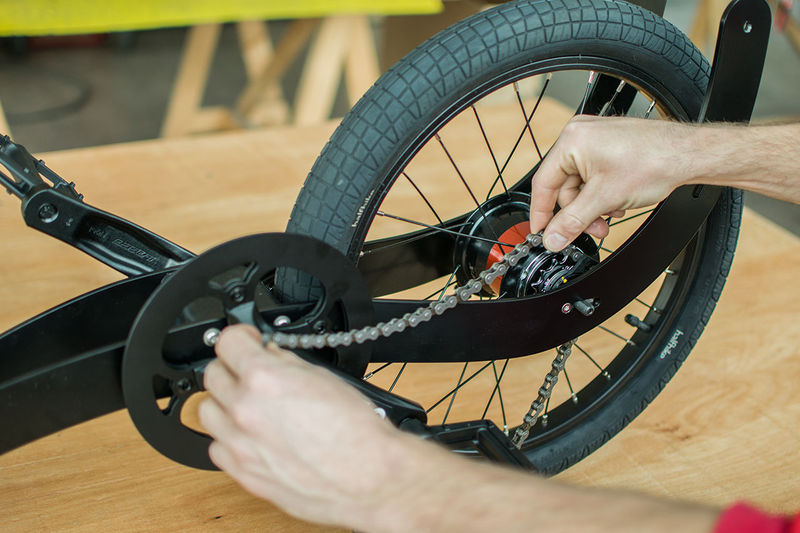
 Insert the wheel into the frame and adjust the washers so that the wheel lays in its rearmost position.
Put the chain back on.
Insert the wheel into the frame and adjust the washers so that the wheel lays in its rearmost position.
Put the chain back on.
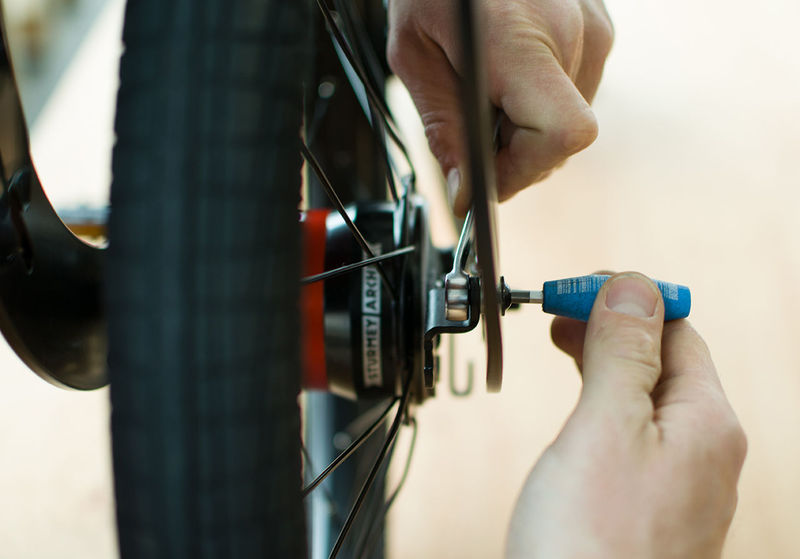
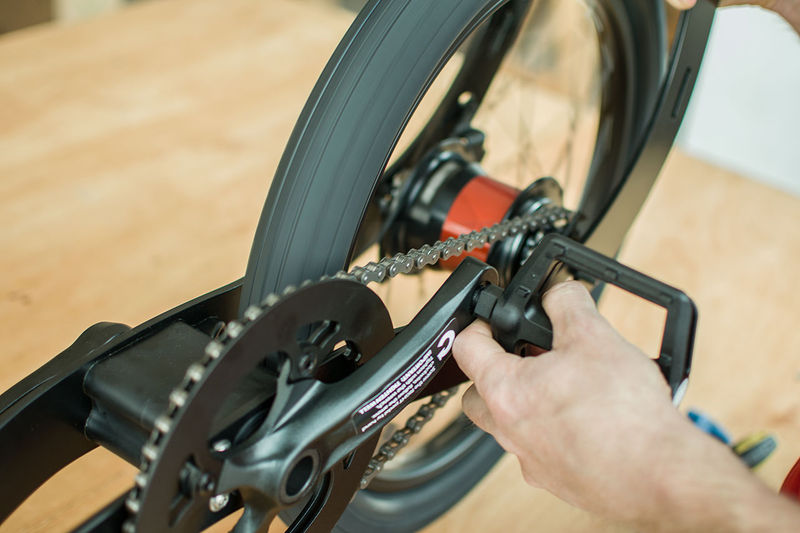
 Use a slotted screwdriver to rotate the elliptical washer in both directions until there's enough tension in the chain.
 The chain should be neither loose nor too tight.
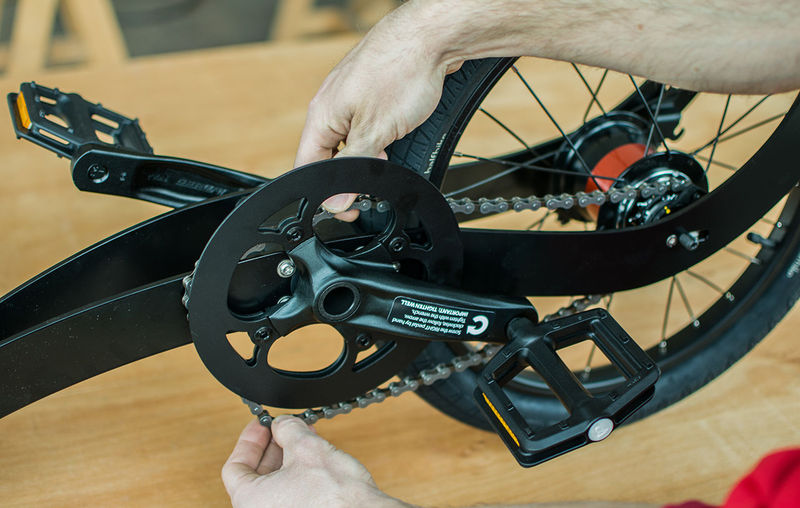
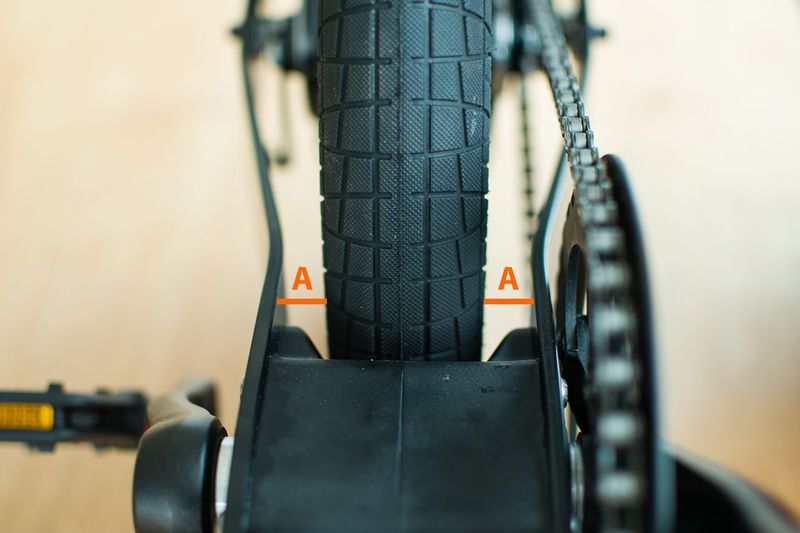
 The tire should be in the center of the frame. Rotate the elliptical washer in both directions to move it left and right while maintaining proper chain tension.
 Rotate the wheel and make sure it spins freely.
 Put the brake bolt back on.
 Don't forget the washer between the brake arm and the frame.
 Insert the bolt and tighten the nut securely.
 Install the ribbed washers and tighten the nuts firmly.
Place back the handle.
Install the ribbed washers and tighten the nuts firmly.
Place back the handle.
 Tighten the four QRs well and then reconnect the brake and gear cables as shown here.
 Enjoy your ride!
Gently open the frame wide and detach it from the handle, one side at a time.
Remove the handle.
Use a 15mm wrench to unscrew the nuts.
Remove the nuts and washers.
Use a 4mm hex key and a 10mm wrench to unscrew the brake bolt.
Remove the bolt and the washer.
Rotate the elliptical washers, which are to be found on the inner side of the frame, as shown in the diagram below:
Push the tire back once the washers are unlocked.
This will loosen the chain and you will be able to remove it.
To detach the front wheel, place your hands as shown in the pictures.
Gently open the frame just enough to allow the axis of the wheel to come out.
If you're about to change the whole wheel, remove the elliptical washers and memorize their L&R positions.
Mounting back the wheel
Put the elliptical washers back, but be careful about their L&R positions. The thumbs should always be pointing inwards.
Insert the wheel into the frame and adjust the washers so that the wheel lays in its rearmost position.
Put the chain back on.
Use a slotted screwdriver to rotate the elliptical washer in both directions until there's enough tension in the chain.
The chain should be neither loose nor too tight.
The tire should be in the center of the frame. Rotate the elliptical washer in both directions to move it left and right while maintaining proper chain tension.
Rotate the wheel and make sure it spins freely.
Put the brake bolt back on.
Don't forget the washer between the brake arm and the frame.
Insert the bolt and tighten the nut securely.
Install the ribbed washers and tighten the nuts firmly.
Place back the handle.
Tighten the four QRs well and then reconnect the brake and gear cables as shown here.
Enjoy your ride!